
Why a Burst Pipe Repair Is Only the First Step
What a Successful Pipe Repair Actually Resolves
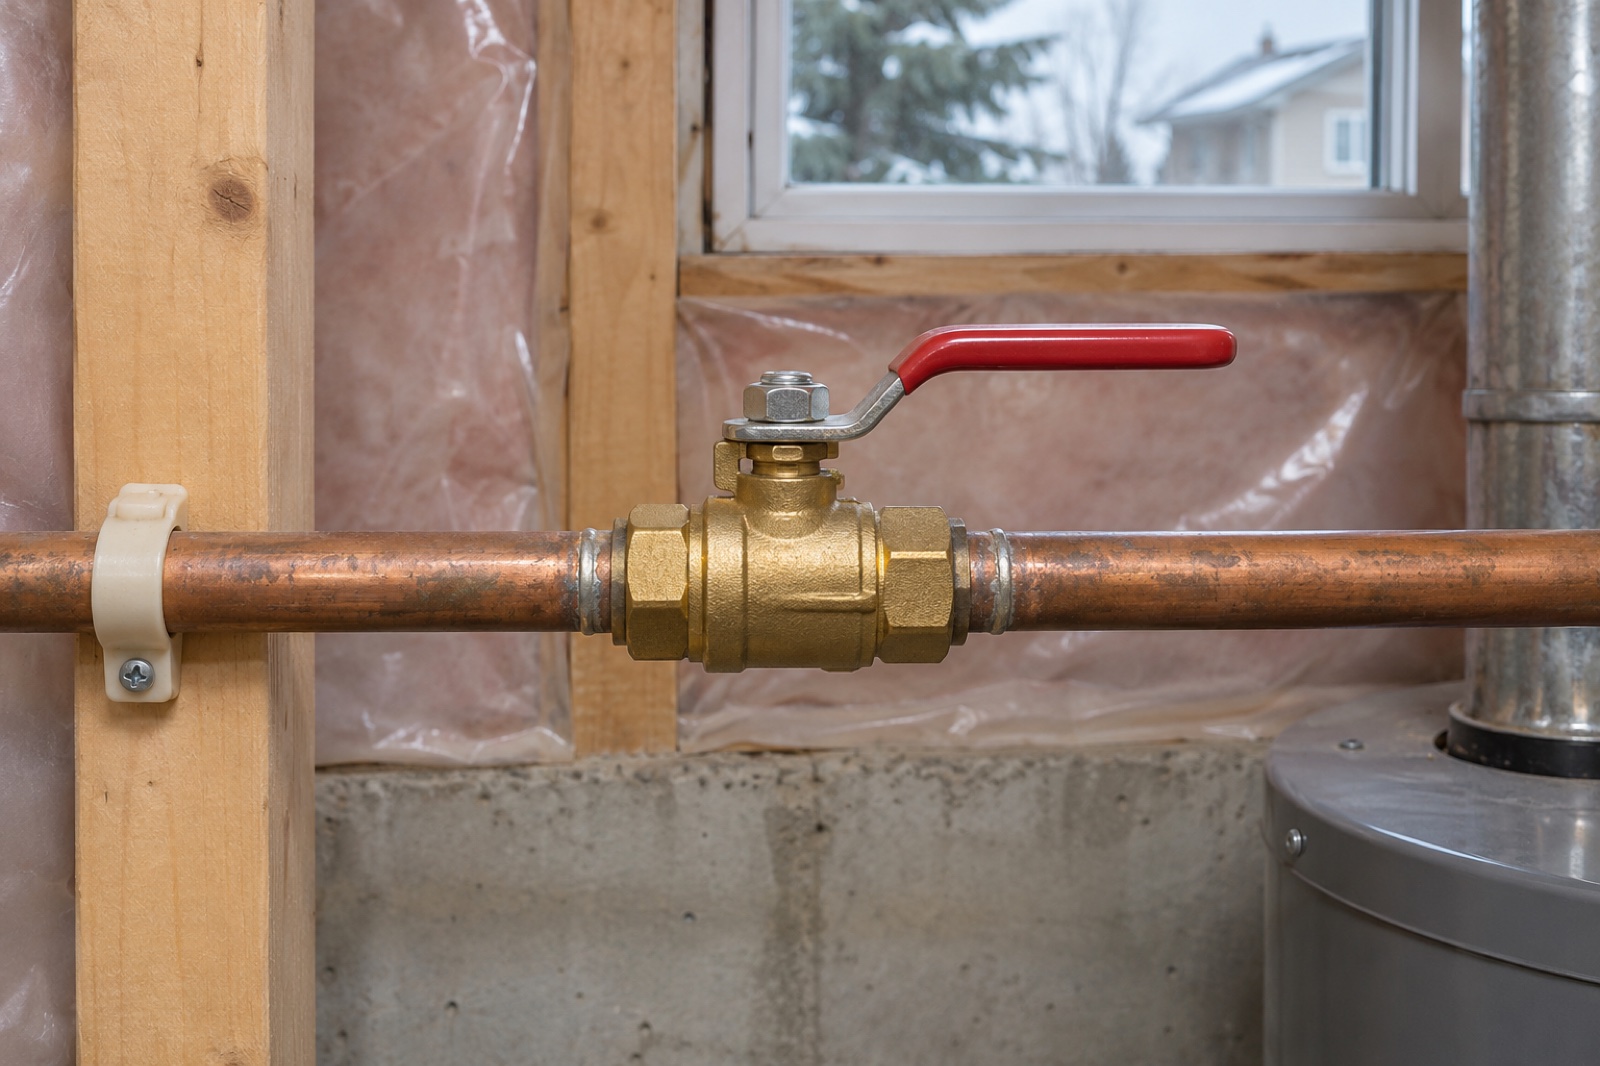
A burst pipe creates two connected jobs: repairing the plumbing and dealing with the water already released. A plumber may replace the failed section, restore the connection and check the repair. Those steps address the supply system. Water absorbed by a cabinet, wall cavity or floor assembly requires a separate assessment, even when the repaired pipe is now holding pressure.
This distinction matters when arranging the next visit. Ask what was repaired, what was checked and whether any temporary measures remain. Keep that information with the incident photographs. A clear plumbing handover helps the restoration contractor locate the original release without assuming that every damp surface came from the same pipe or that the entire building has already been assessed.
Trace Where the Escaped Water Travelled
Water can follow framing, service openings and the underside of flooring before it becomes visible. The largest puddle may be some distance from the failed pipe. A stain downstairs may indicate a route through the ceiling assembly, while apparently unaffected flooring can conceal moisture underneath. Record observations by room rather than describing the incident only as a bathroom or kitchen leak.
An assessment should consider adjoining spaces and materials below the leak. Moisture readings help investigate conditions that appearance alone cannot settle. The Massachusetts Department of Public Health explains that building materials may contain significant moisture without looking wet. Readings still need interpretation for the material and instrument involved; a single number copied from another room is not a universal pass mark.
Separate Access Openings From Damage Removal
The hole needed to reach a pipe is not necessarily the full area requiring drying or replacement. Equally, a small access opening does not prove that an entire wall must be demolished. The next decision should reflect the affected assembly, its condition and whether hidden layers can be inspected and dried effectively. Ask the contractor to explain the proposed removal boundary.
Before disturbing older finishes or concealed materials, discuss whether a hazardous-material assessment is needed. Keep occupants clear of unstable ceilings and damaged surfaces. Electrical equipment or circuits affected by water also need appropriate evaluation. Nobody should enter standing water or reach through wet construction simply to obtain a better photograph or turn off an inaccessible control.
Give Drying Its Own Scope and Completion Check
Extraction removes accessible liquid water. Drying then addresses moisture retained in materials and the surrounding air. The equipment and access needed depend on the construction, extent of wetting and contamination concerns. A household fan beside a painted wall cannot demonstrate that insulation or a subfloor has dried. Ask which materials are being retained and how their progress will be checked.
Edmonton Water Damage Restoration describes the broader water damage restoration process as a separate resource for understanding recovery beyond the plumbing repair. When comparing any proposed scope, look for assessment, drying and material decisions rather than treating the presence of equipment as proof that the job is complete. The written result should identify what remains outstanding.
Decide Which Materials Can Stay
The answer varies with the material, its condition and the water involved. Swollen composite cabinetry, damaged paper-faced board and a distorted floor may need different decisions from sound framing. Sewage or other contamination changes the cleanup approach. Avoid treating an initially clear supply leak as permanently harmless when the water has passed through concealed, dirty or previously damaged spaces.
The EPA recommends prompt action on damp materials and warns that porous materials affected by mould may be difficult to clean completely. Its guidance supports early assessment rather than a guaranteed salvage deadline. Ask for the reason behind each retain-or-replace recommendation. A photograph showing a stain alone cannot establish the condition of the back of a board or the layers beneath flooring.
Plan Finish Repairs After the Wet Work
Closing a wall or installing flooring too early can conceal unresolved moisture and make later investigation more disruptive. Before reconstruction, confirm that the leak repair is complete, affected materials have been assessed and the retained assembly has met the applicable drying criteria. A painter or flooring installer should receive the relevant findings rather than infer readiness from a clean-looking room.
Define who repairs access holes, replaces insulation, reinstalls trim and handles decorating. These tasks may sit outside the plumber’s invoice. Keep the emergency repair and restoration scopes separate enough to understand their boundaries, with a named contact coordinating the handover. That prevents an apparently finished pipe repair from leaving an open wall or wet cabinet without an assigned next step.
Keep a Simple Incident Map
Sketch the affected rooms and mark the repaired pipe, visible wet points and areas that need further checking. This does not need to be a technical drawing. Its purpose is to keep the same location information available when different contractors attend. Label photographs by room and direction so a ceiling image can be matched to the area above it. If another symptom appears, add the observation and date without deciding the cause yourself. For example, a new mark beside the original stain should be reported for assessment rather than automatically labelled a failed repair. This record helps the next contractor ask focused questions and reduces confusion between the plumbing location and the full water path.
Questions to Ask Before Closing the Incident
Can I use the plumbing again?
Follow the plumber’s specific instructions for the repaired system. Permission to use a fixture does not establish that the surrounding room is ready for normal occupancy or finish repairs. Ask about each restriction separately.
Does a dry surface mean the wall is dry?
It does not establish the condition of concealed layers. Ask which locations were checked, what material was measured and whether inaccessible areas remain uncertain. Keep those uncertainties visible in the handover.
What records should I keep?
Retain the repair description, photographs, assessment, drying findings and remaining recommendations. Notify the relevant insurer or property manager through the appropriate process without assuming coverage. Close the incident by task, so completed plumbing work and unfinished building repairs cannot be confused.